Thai coconut sticky rice with juicy fresh mango and mint leaves, served spring roll style as a light and refreshing dessert or sweet snack.
Lately I've been reminiscing about the amazing meals I've enjoyed when I've been travelling. There are many. Given my natural attraction and inclination to travel in Asia, they mostly lean in that direction. Give me a bowl of hot and spicy, pungent and sour, or fresh and fragrant, and I'm happily transported to the streets of Chiang Mai, Luang Prabang or Hanoi (three of my favourite cities).
I have very vivid memories of enjoying roadside mango sticky rice for the first time in Chiang Mai, some years ago now. I recall the tender, sweet and slightly salty perfection of the delicately cooked sticky rice, and intense exotic flavour of the thickly sliced in-season Thai mango that rested on top of it. Drizzled with a little more coconut cream, served on a banana leaf and costing about 20 baht, it was the ultimate snack (and all for about $0.70 NZD). My love for mango sticky rice became an addiction and I gobbled it up at every opportunity, for the rest of that trip.
On yet another trip to Thailand, this time at Koh Samui, we quickly noticed the signs everywhere advertising 'the best mango sticky rice on the island', available at a fancy resort restaurant. We weren't taken in by the advertising, but thought it would be fun to compare high end resort style vs low end street food sticky rice and see which one came out on top. Any guesses? The resort style mango sticky rice was nice, but street style wins every time.
Mango sticky rice is harder to come by outside of Thailand, and I always wonder why it's not offered on more restaurant menus. It's very easy to make and only calls for a few ingredients, so I took myself off to the Asian supermarket for supplies and got busy in the kitchen.
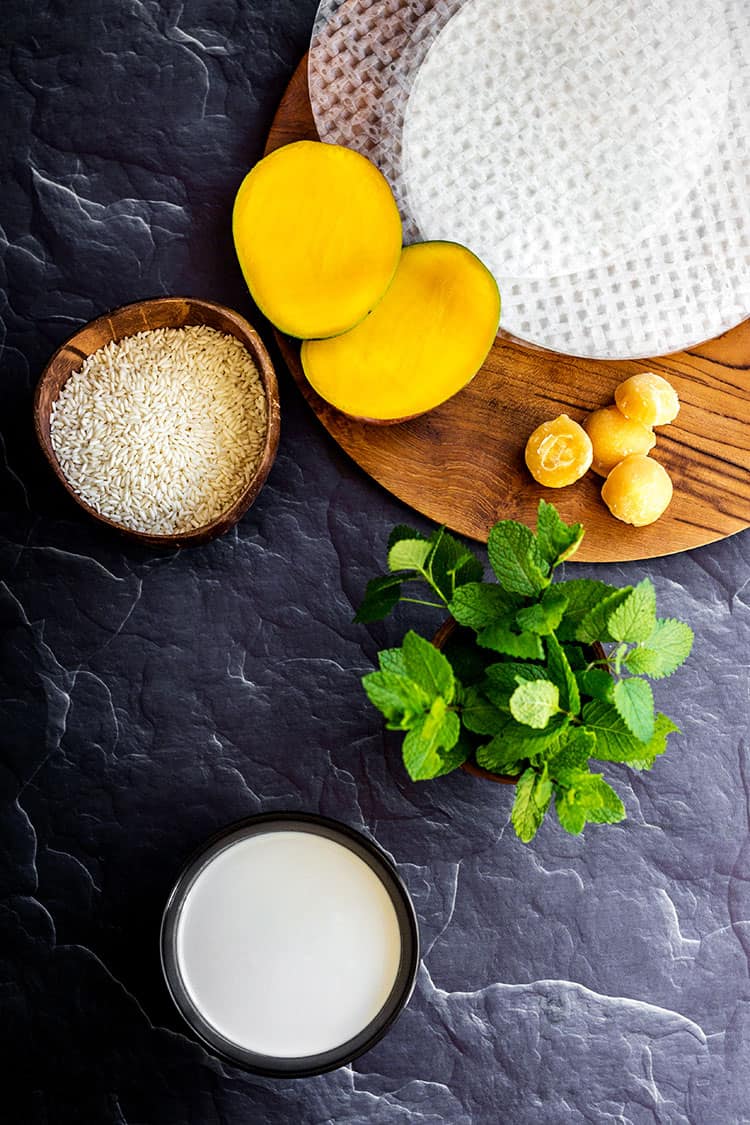
Important: Use the right rice
When a dessert is all about the rice, it's important to use the right rice. In this case, that's Thai sticky white rice, a glutinous white rice. I'd describe it as a medium grain rice - not as short as arborio, and not as long as basmati. The 'glutinous' label doesn't refer to gluten (rice is gluten free), but actually to its high starch content which creates a creamy, sticky texture once cooked. It's not dissimilar to Japanese sushi rice, which in a pinch I think you could use successfully as an alternative.
You're looking for something labelled as Thai long grain sticky rice, sweet rice, or glutinous white rice. I had no trouble finding it at an Asian supermarket, but it wasn't stocked at my regular supermarket.
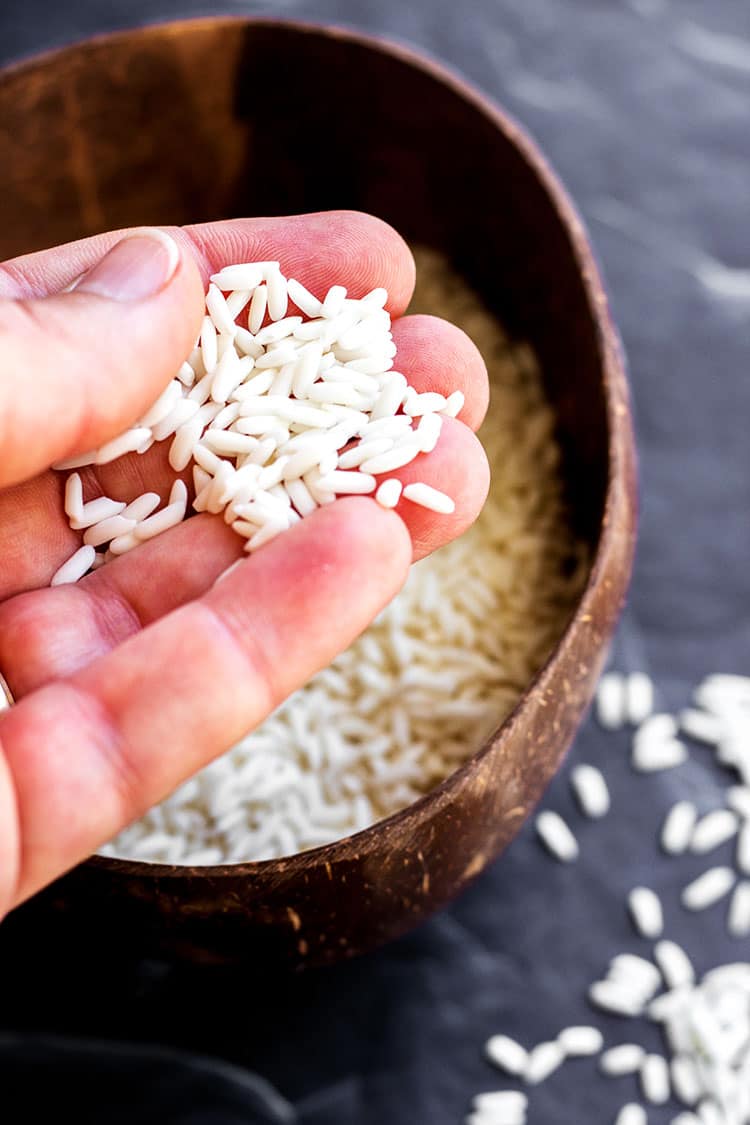
Also important: Cook the rice properly
It's also important to prepare and cook the sticky rice properly. Perfect sticky rice is tender but not mushy, and the individual grains are distinct. You can't achieve that by boiling the rice, or disturbing it too much while cooking.
Virtually every mango sticky rice recipe out there calls for the rice to be steamed, and if you have a steamer that is definitely how you should cook it.
I, however, don't have a steamer suitable for cooking rice, and I know lots of people don't. I've had great success using a stovetop method for Japanese-style sticky rice, and I had a hunch it would work just fine for Thai-style sticky rice too. I was right.
My no-steamer method for cooking sticky rice
- Rinse the rice well, in a sieve under cold water.
- Soak the rice for at least an hour, or as long as overnight, before draining and rinsing it again.
- Put the rice in a saucepan that has a lid, and add the equal amount of cold water, plus just a little extra (for example 1 cup rice, and 1 cup + 2 tablespoon of cold water).
- Put a lid on the saucepan, bring it to a simmer, then immediately turn the heat down to low.
- Let the rice cook for 10 minutes without removing the lid or stirring it whatsoever.
- After 10 minutes the water should have all disappeared (a glass lid is really handy here).
- Turn the heat off and allow the rice to sit, with the lid on, for a further 5-10 minutes.
- Remove the lid and use a rice paddle or metal spoon to carefully lift or stir the rice (a wooden spoon or thick serving utensil will break up the grains).
This method isn't tricky, it just involves a bit of restraint and ability to resist the urge to lift the lid or stir the rice. All will be well in the end.
For this recipe, once the rice is cooked we pour hot sweetened coconut cream over the hot rice, gently stir it through, then allow it to sit again. The coconut cream is quickly absorbed by the rice, resulting in a thick and moist, but not wet, sweet sticky rice mixture.
How to serve Thai mango sticky rice
Mango sticky rice isn't complicated, and you can keep life simple by serving the sticky rice in a bowl, with a few slices of mango on top, and a drizzle of coconut cream.
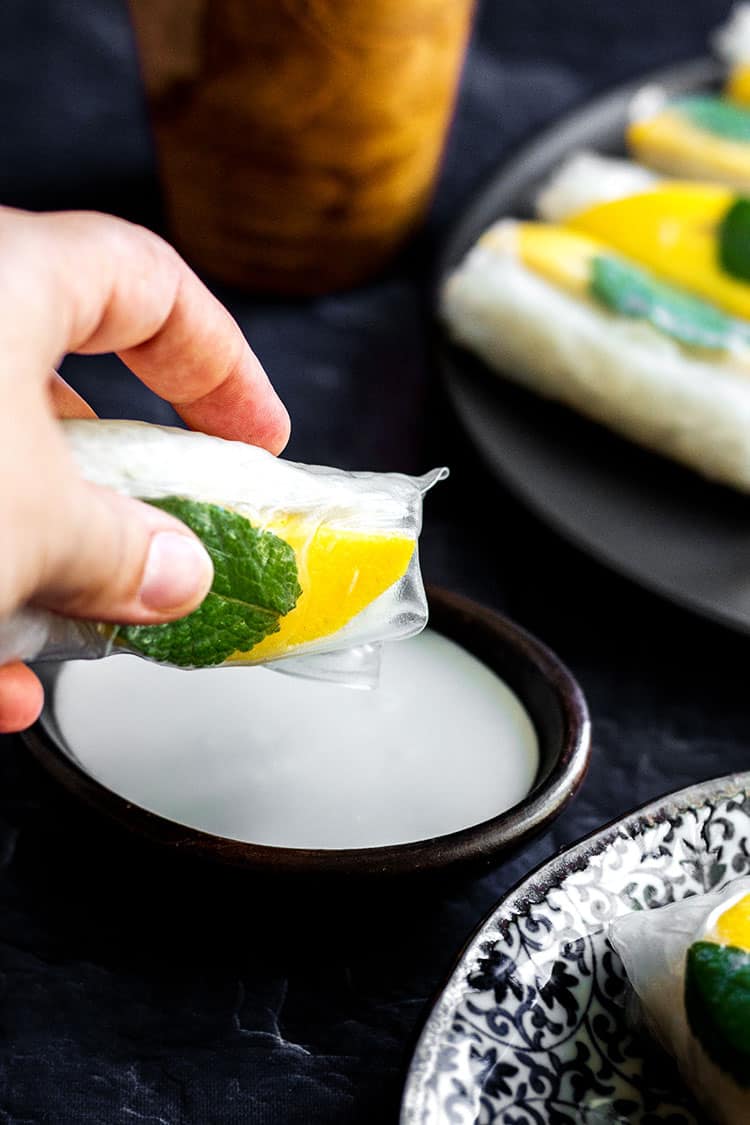
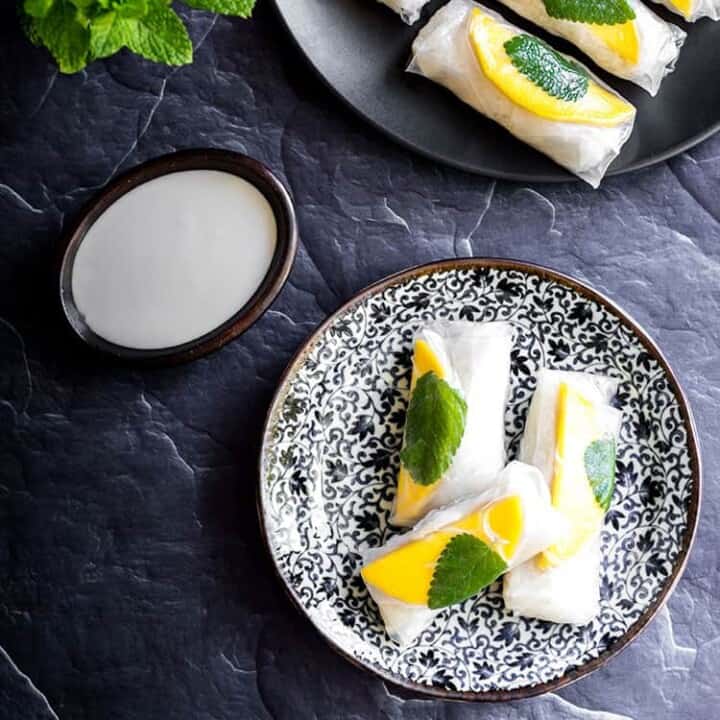
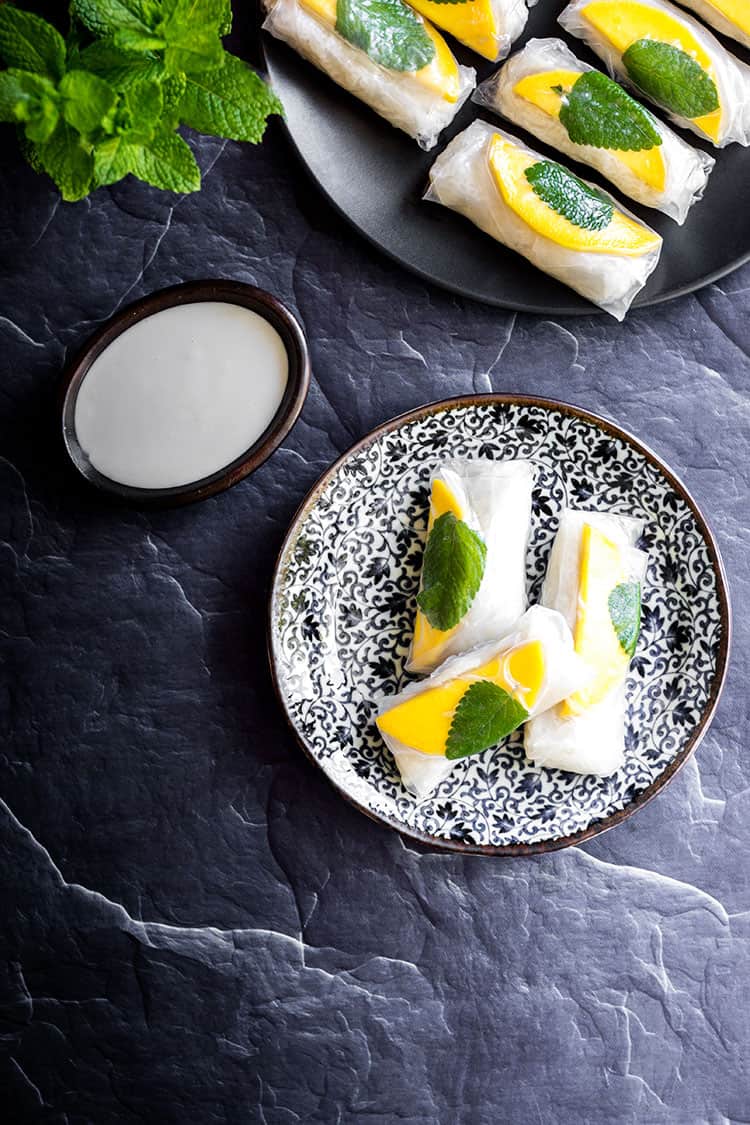
But, I had the idea that it would also be delicious wrapped in fresh rice paper wraps (summer rolls, or raw spring rolls), which have the benefit of making the dish portable, portion controlled, and easier to eat with your hands. I was right, mango sticky rice summer rolls work really, really well, and make a perfect dish for pot lucks, or bring a plate (as we say in New Zealand).
How to make fresh summer rolls
Once the rice is cooked and mixed with the coconut cream, you need to let it cool enough to handle - maybe 15 minutes. At that stage set yourself up a production line with a casserole dish or large shallow bowl of hot water, rice paper wraps, sliced mango, fresh mint leaves and the cooked rice.
Working one sheet of rice paper at a time, dunk the rice paper into the water for just a few seconds, then lay it on your bench or another smooth work surface. Wooden chopping boards aren't great for this job because they absorb the water, which makes the rice paper stick to the board.
Don't be tempted to fully soften the rice paper before you start rolling - it'll be too soft and harder to work with. If you dunk it for just a few seconds, by the time you've arranged the fillings and started rolling it will be just soft enough to roll, but firm enough that it's not too fragile (and much easier to work with).
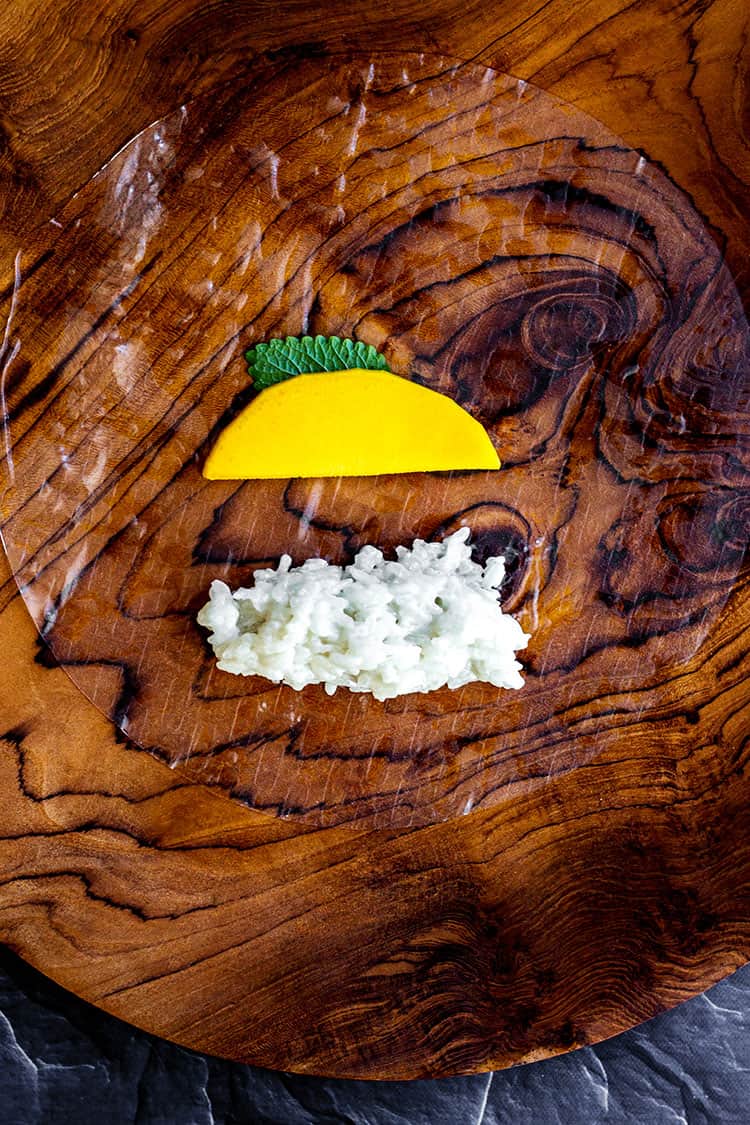
Spoon a heaped tablespoon of sticky rice onto the rice paper, in a spring roll sized shape towards the front edge. Arrange a mint leaf and a mango slice about halfway up the rice paper. Fold up the bottom edge, fold in the sides, then roll it away from you. I've found that this works better than just piling the rice and mango together in one spot, and results in a cleaner, tidier finish.
Mint leaves aren't traditional but I personally love fresh mint with either mango or pineapple, and think it works perfectly here.
Continue on assembling summer rolls until you've run out of ingredients, assembling the finished rolls on a serving platter as you go. Summer rolls have a tendency to stick to each other, so it's best to leave a small gap between each one.
These are best served at room temperature soon after they've been made, but can be covered and refrigerated to serve later. If you're serving them later, sprinkle a little extra water over the finished summer rolls and store them in an airtight container to stop them from drying out.
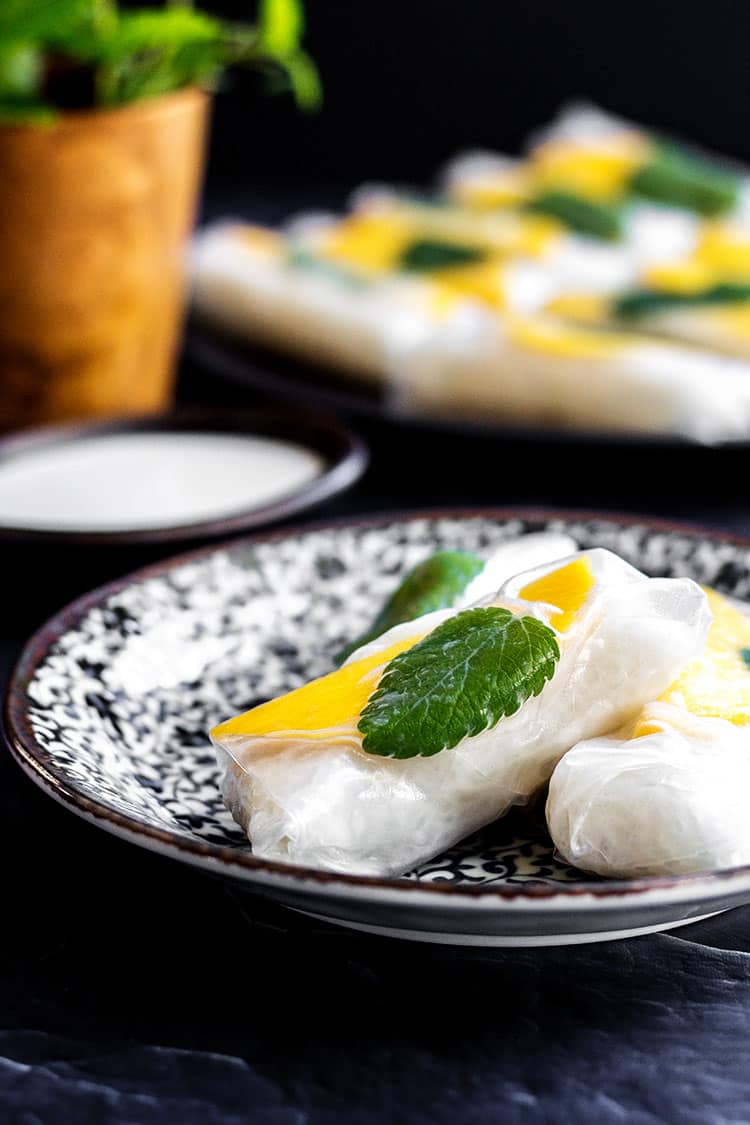
To dip, or not to dip?
I don't think these summer rolls really NEED a dipping sauce, but it's always nice to have the option. Sweetened coconut cream (there'll be some left over from making the sticky rice) works perfectly, and is authentic to how mango sticky rice is usually served.
Next time, I might try making a palm sugar and lime caramel sauce, which I have a hunch would be really delicious. Maybe even with a touch of chilli? (I can't stop myself!)
Get the recipe
INGREDIENTS
For the rice:
- 1 cup Thai white glutinous rice
- 1 cup +2 tablespoon water
For the coconut cream:
- 1 ½ cups full fat coconut cream
- 4 tablespoon palm sugar (or sugar of your choice)
- ½ teaspoon salt
To assemble:
- 16 rice paper spring roll wrappers
- 1 mango
- Fresh mint leaves
INSTRUCTIONS
- Rinse the rice well, in a sieve under cold water. Soak the rice for at least an hour, or as long as overnight, before draining and rinsing it again.
If you have a rice steamer:
- Steam the rice for 20 minutes, or until tender.
No-steamer method:
- Put the rice in a saucepan with 1 cup + 2 tablespoon of cold water. Put a lid on the saucepan, bring it to a simmer, then immediately turn the heat down to low. Let the rice cook for 10 minutes without removing the lid or stirring it whatsoever. After 10 minutes the water should have all disappeared (a glass lid is really handy here). Turn the heat off and allow the rice to sit, with the lid on, for a further 5-10 minutes.
While the rice is cooking:
- Heat the coconut cream, palm sugar and salt in a saucepan over medium heat, stirring constantly. Once the sugar and salt have dissolved into the coconut cream, remove ½ cup of the coconut cream and pop it in the fridge to chill and use later as a dipping sauce.
Once the rice is cooked:
- Pour the remaining hot coconut cream over the rice and stir it gently to evenly coat the grains. Set the rice aside for 10-15 minutes to absorb the coconut cream and cool down enough to handle.
To assemble the mango sticky rice summer rolls:
- Cut the cheeks off a mango, peel them, then slice thinly. You'll have more than you need (cook's treat!).
- Set up a production line with rice paper wrappers, sliced mango, fresh mint leaves, the rice, and a casserole dish or wide shallow bowl with hot water in it.
- Working one sheet of rice paper at a time, dunk the rice paper into the water for just a few seconds, then lay it on your bench or another smooth work surface. Spoon a heaped tablespoon of sticky rice onto the rice paper, in a spring roll sized shape towards the front edge. Arrange a mint leaf and a mango slice about halfway up the rice paper. Fold up the bottom edge, fold in the sides, then roll it away from you.
- Assemble the finished rolls on a serving platter as you go. The summer rolls are best served fresh at room temperature soon after they’ve been made, but can be covered and refrigerated to serve later that day. If you’re serving them later, sprinkle a little extra water over the finished summer rolls and store them in an airtight container to stop them from drying out.



Comments
No Comments